

Warning
Some activities involve important system tools, BIOS, and using and creating Microsoft accounts. This tutorial also involves downloading official ISOs.
Requirements
You must have Windows 10 installed. Your computer must exceed the Windows 11 minimum requirements and have virtualization turned on in BIOS. You must also have Hyper-V enabled in Windows. You will need two email addresses and a Microsoft account setup under one of them.
If you’re like me you just can’t wait to try out Windows 11 (maybe even give suggestions). I remember when Microsoft said that Windows 10 would be their last release. By the way, my install of Windows 11 is so cool even though it is inactivated.
1. Getting the ISO.
Go to https://insider.windows.com/en-us/getting-started and click Register. Sign in if it prompts you and follow through the registration prompts. Don’t worry, this won’t affect your computer unless you go into settings and enable insider builds. Congrats – you are now registered. Go to https://www.microsoft.com/en-us/software-download/windowsinsiderpreviewiso and select the Dev channel build. At the time of writing this is not a Windows 11 build, but click Confirm. Select your language and hit confirm. Select 32-bit or 64-bit depending on which your computer is. Let it download. You now have a Windows ISO.

2. Part 1 – Setting up the VM
Launch the Hyper-V Manager (Not quick create). Select New and Virtual Machine.

Click next. Name it Windows 11 or whatever you like and click next. Select Generation 2 and click next. Give the VM 4050 MB or more. I did 4650 MB. Click next. Select Default Switch and click next. Select Virtual Hard Disk. Keep everything to the default settings but give the disk 70 GB or more storage and click next.

Select Install an operating system from a bootable image file. Click browse and find the file you downloaded earlier. Click next. Click finish. Do not run the VM yet. There are still a few more steps.
2. Part 2 – Setting up the VM
You just finished the hardest part of setting up the virtual machine. In Hyper-V Manager click once on the VM you created.

Click settings on the right side of the screen. Click on the Security tab and change your setting to match these below.

Click on the Memory tab and disable dynamic memory. Click on the Processor tab and change the number of virtual processors to 2. Click Apply. Under the SCSI Controller tab click on the Hard Drive tab. Click Edit and click next. Click Convert and click next. Select VHDX and click next. Select Fixed Size and click next. Click browse and type a file name different from the previous drive. Click save and next. Click Finish. When it finishes click browse under the Hard Drive tab. Select the Hard Drive you just created. If the old one is still there, you can delete it. Click open and apply. You are now ready to run it.
3. Windows Setup
In Hyper-V Manager, double-click on your VM and click start. From now on, make sure you run these instructions inside the VM, not your actual computer. Follow through the prompts. Select the edition you would like (I used windows 10 Home). When it asks you to activate, click I do not have a key. Follow through setup but create a new Microsoft account and select optional diagnostic data. If you have Windows 11 installed now skip to step 5.
4. Windows Upgrade
If you have Windows 10 now, enter settings and activate if you wish. Go to Windows Update and then Windows Insider Program. Follow through the prompts to join, using your new Microsoft account. Select Dev Channel. Don’t worry, if your VM crashes it won’t affect your pc.

Now go to Windows Update and click Check for Updates. One of the updates should be Windows 11. Reboot when the Windows 11 finishes installing.


5. Windows 11!
You should now have Windows 11 installed. Go into settings and make sure Windows Insider is enabled. If it isn’t, enable it and join the Dev Channel. If you didn’t install Windows 10 first, you can now buy an activation license if you would like. If you really want to see Windows 11 setup you can reset the VM.

Just make sure it completely wipes the VM. Then just follow through setup again using your new Microsoft account and enabling insider again. Now you have finished the “Windows 11 Virtual Machine” tutorial!
6. Windows 11 Preview Graphics


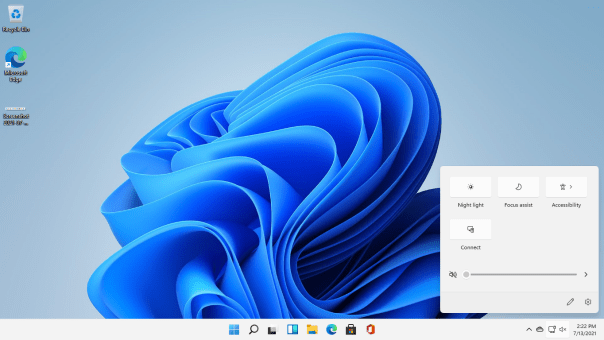


More pics added each day!